Tips for Building and Riding the Aventon Abound Electric Cargo Bike
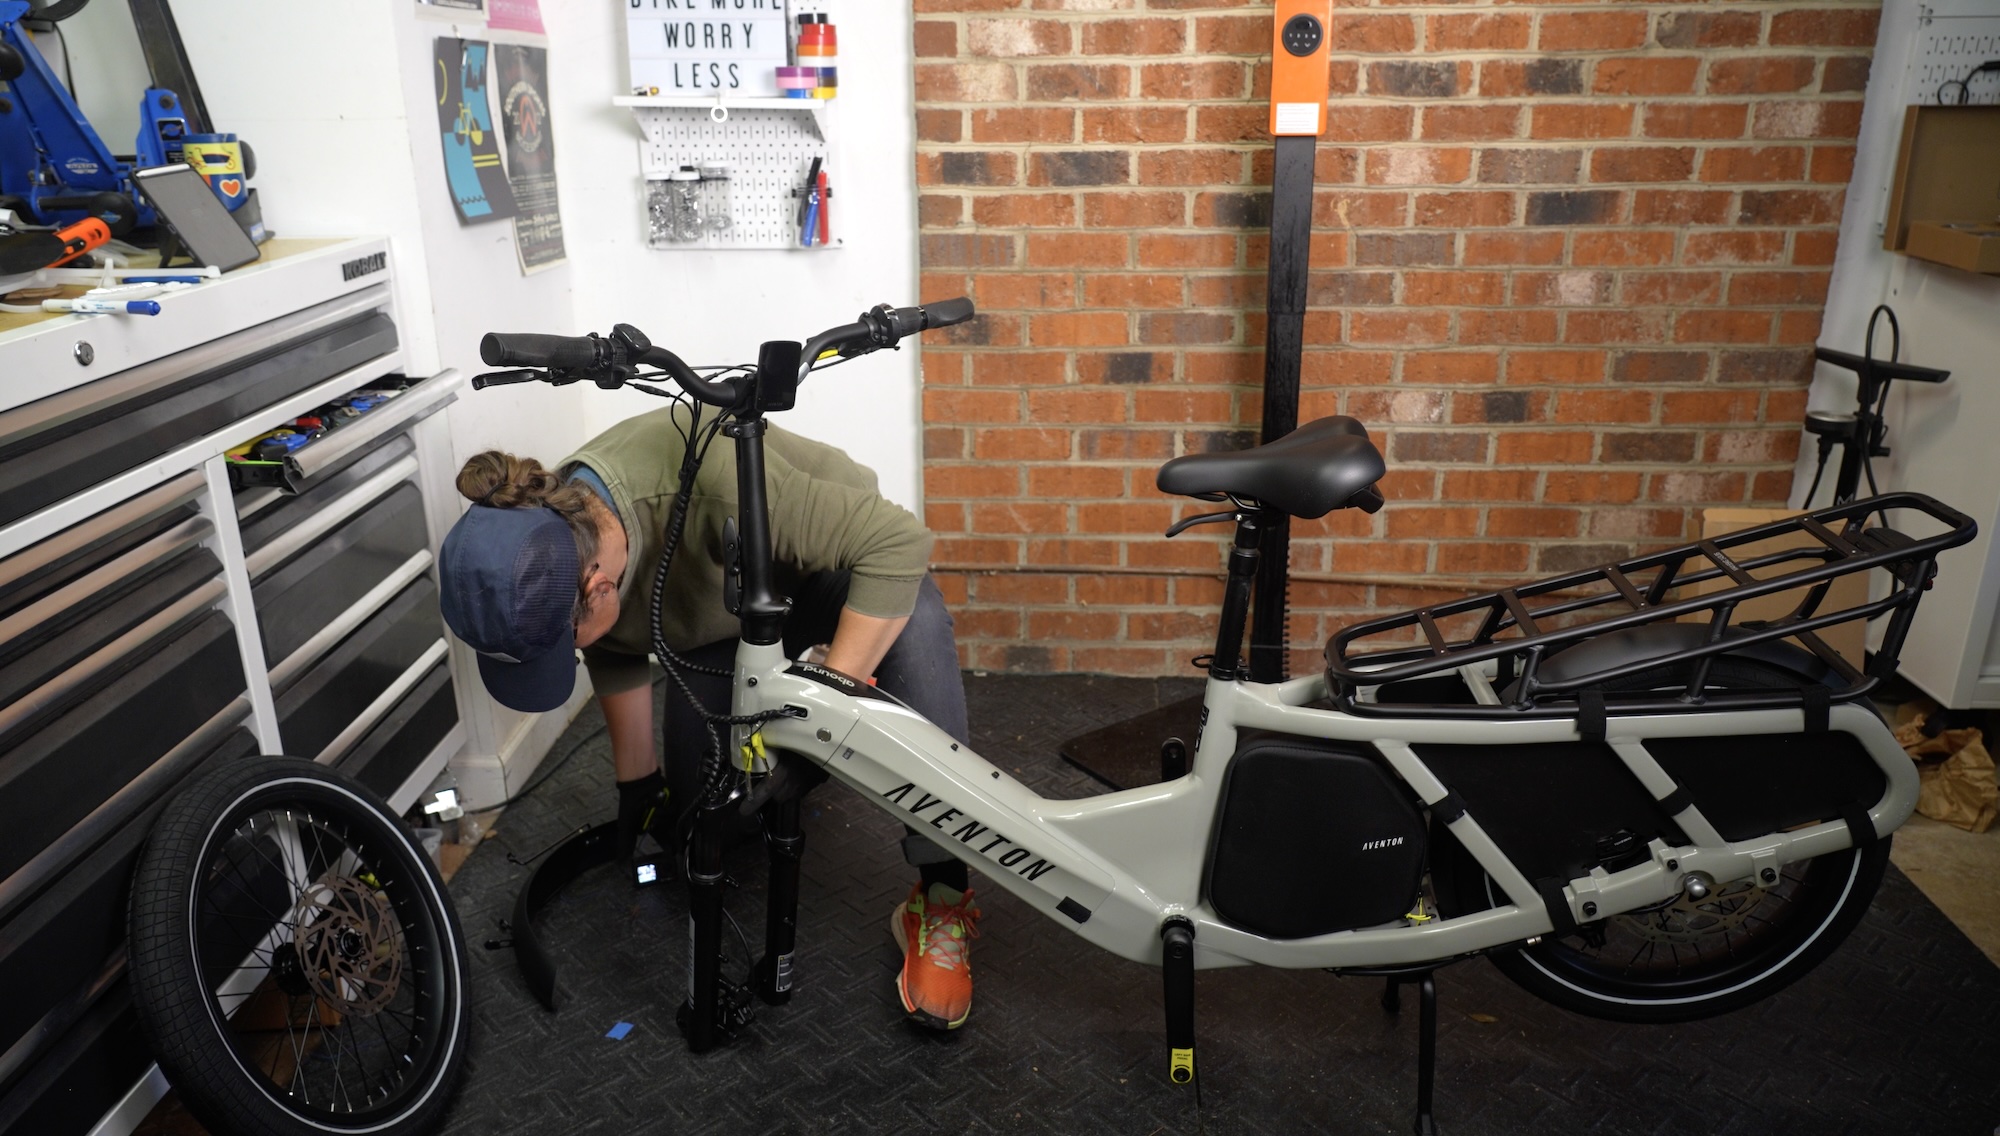
We have an Aventon Abound cargo bike in for a long-term review. Before reviewing the bike, we needed to build it, which is always a good testament to brand standards and design philosophy. It is the most affordable cargo bike we recommend, but how was building it?
Here are my initial top tips for building and riding the Aventon Abound. This is to SUPPLEMENT the Aventon Abound official instructions, not to replace them! If you haven’t purchased your Aventon Abound and want to support our site, use this link so we make a commission (thank you!)
If You Won’t Change a Flat tire, Don’t Build a Bike From a Box
Aventon can ship to a dealer, and for 90% of you reading this – please do that.
Sure, they advertise that anyone can build a bike, which is somewhat true. The bike may ride okay, but there are a lot of fine details that Aventon’s instruction details gloss over (I’ll note below), and not something I want you to be figuring out on a bike that may be carrying your kids. You want your brakes to work well, your front wheel to be correctly torqued, and the gears to shift well before you carry any precious cargo or tackle that huge hill on your way to work the first time.
Now that I have that disclaimer out of the way… for the 10% of you who want to build a bike from a box, let’s do this.
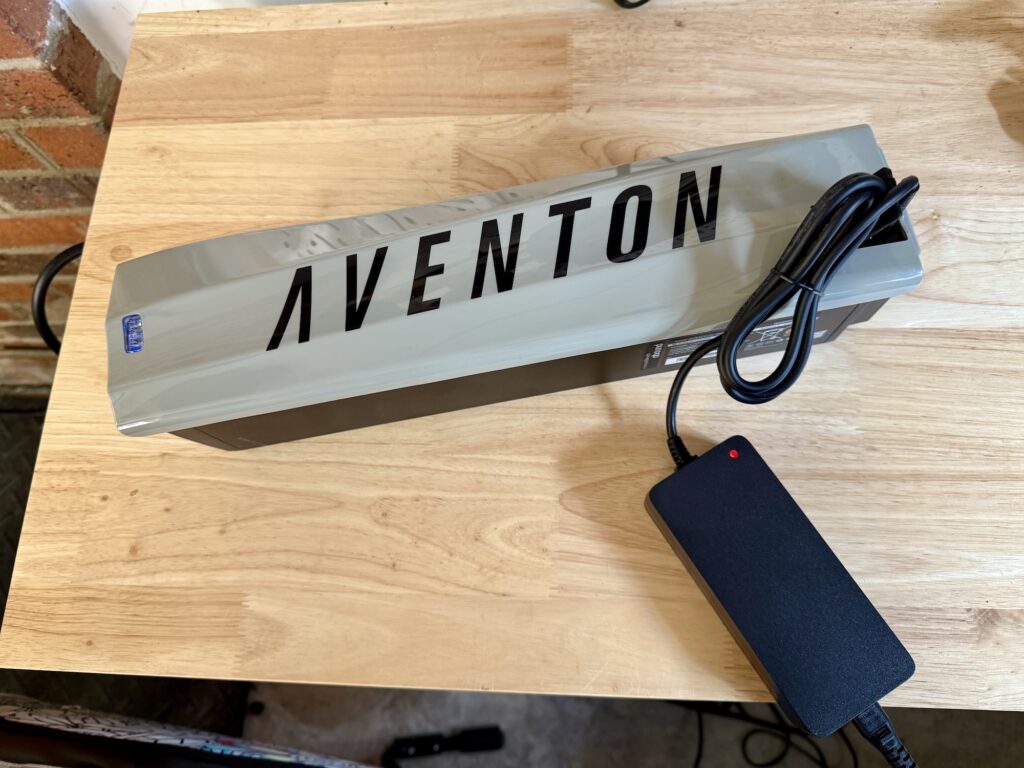
1. Remove the Battery and Have it Charging
Aventon lists the instructions for removing the battery pretty far into the video. I suggest removing the battery, checking the key number matches the lock core on your bike, and having the battery charging near you while you build the rest of the bike.
Why? This removes a lot of weight from the bike and ensures that your battery and charger work properly before your test ride. It would really suck to get through everything to realize that it isn’t working or isn’t charged.
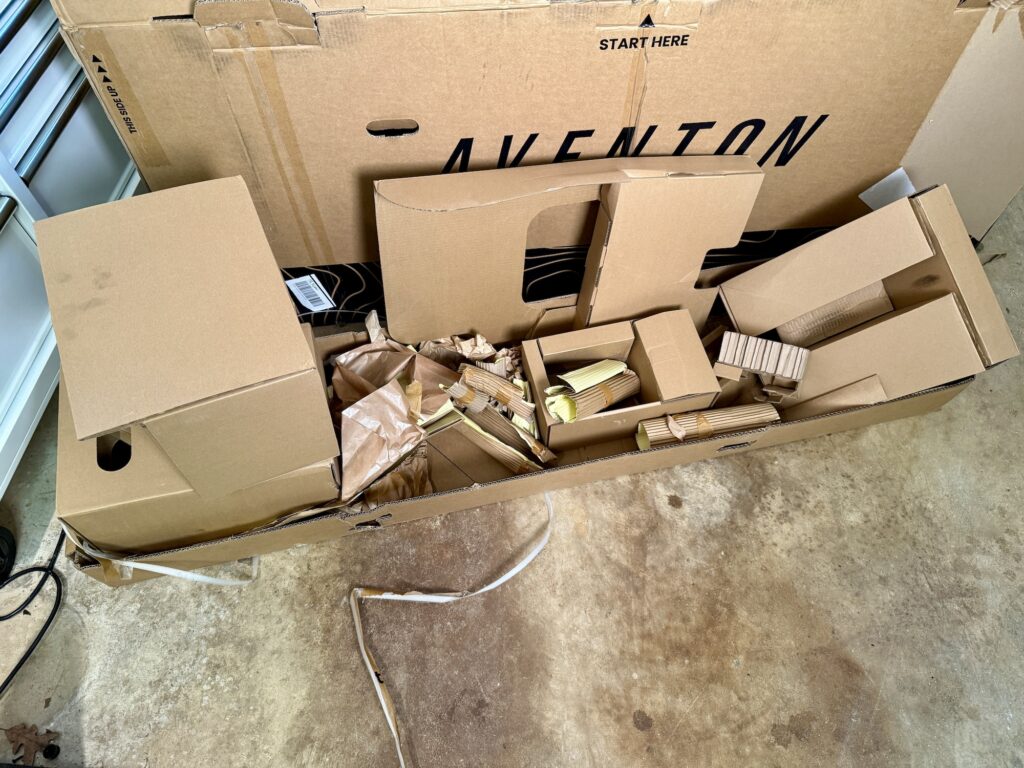
2. Unpack slowly
It is very easy to want to rip through the packaging like Christmas morning because it is NEW CARGO BIKE DAY, but I’ve gotten through unboxing a bike to realize that the frame is damaged, and I needed to pack it right back up. Now, I carefully remove the packaging and inspect it as I go. Think of it as a car rental check-over; you want to ensure everything is good to go.
While unpacking, please do not touch the rotor of your front wheel. Your hands could contaminate it with oil, and you don’t want to bend the rotor accidentally.
3. Fold Up Your Stem Before Installing Your Wheel
I find it easier to pick up the bike when your stem is folded up, and your handlebars are where they belong. The stem latch should make a hard click when closed. You should also check it every 100-200 miles to ensure it still makes a hard click when closing.
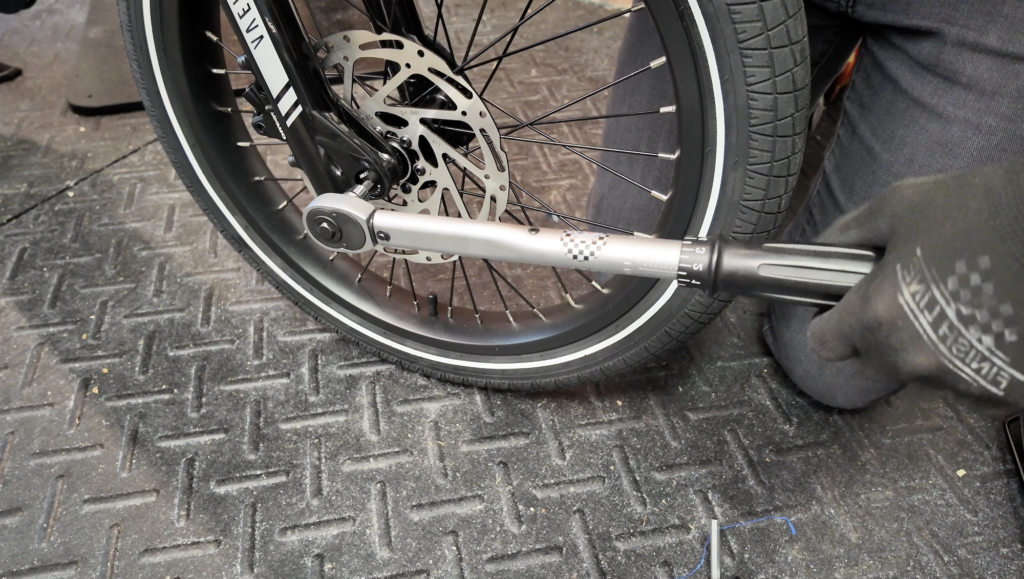
4. Use a Torque Wrench on Your Front Wheel
If you don’t have one, buy one or pay a friend to use theirs. Make sure to grease the threads and the interface of the head of the thru-axle and the fork.
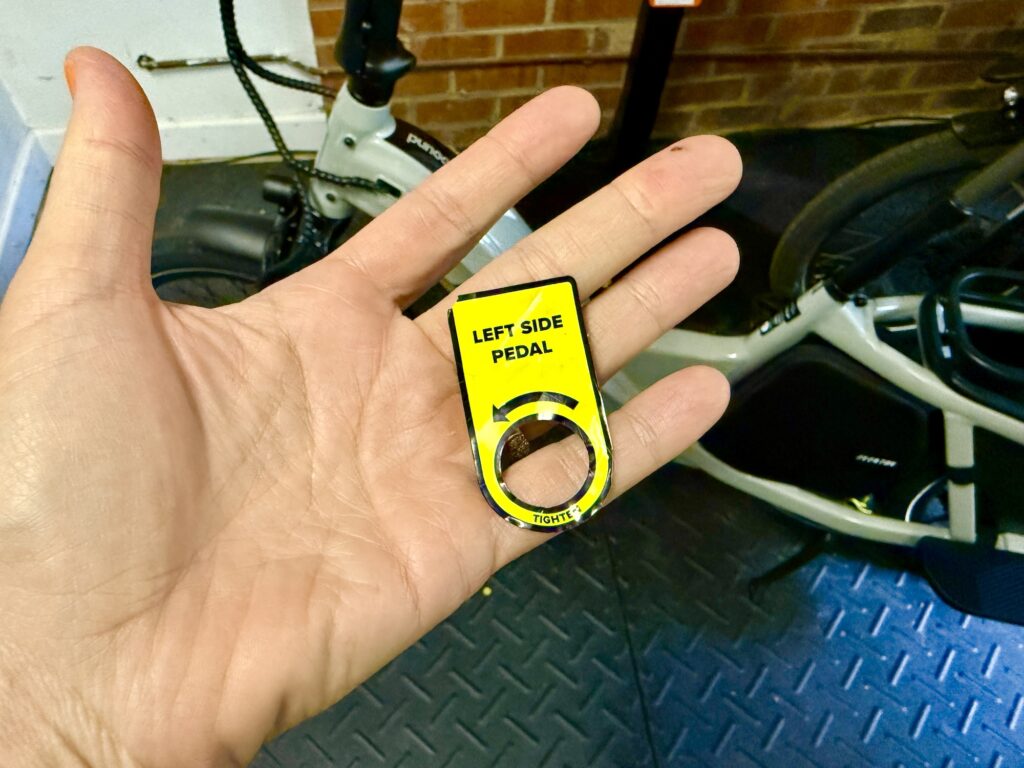
5. Remove the Stickers from your pedals and cranks once the pedals are installed

6. Inflate Your Tires
The recommended Aventon Abound tire pressure is between 35-60 PSI. I’ve been running 40 psi with mostly one child on the back. I also installed Slime in my tubes and plan on upgrading to Schwalbe Big Ben tires once the stock ones wear out to have more comfortable durable tires.
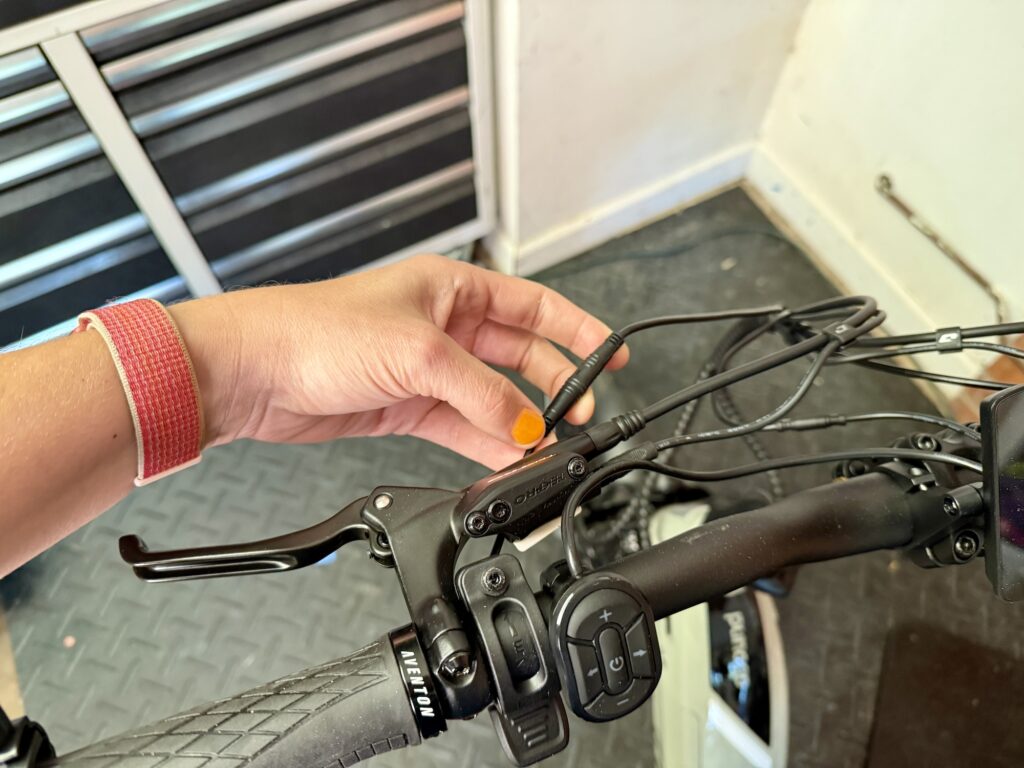
7. Know How to Unplug Your Throttle
This isn’t a known issue with Aventon, but some other direct-to-consumer brands are known for having their throttle get stuck on if the bike has been out in the elements.
Yes, it is as terrifying as it sounds.
So I always show riders on any Class 2 eBike how to reach down with their left hand and unplug the throttle wiring if, god forbid, something were to happen.
8. Test Ride and Bed IN Your Brakes
I do the initial test rides before installing accessories and carrying any cargo. You want to ensure the bike is shifting well and take the time to bed in your brakes. Not sure how to do that? Here are some essential tips starting at 4:32.
9. Adjust Your Fit
I have a completely different article started on adjusting fit and syncing your phone with your bike, but here are the critical things in the order you should do them:
• Adjust your seat height so you have a slight bend in your knee but can still confidently touch the ground with your toes with both feet.
• Adjust the seat angle so you don’t feel like you are sliding off the seat and nothing is pressing into soft tissue.
• Your stem can move up and down. I recommend keeping it as low as you feel comfortable to help counteract the heavy weight you’ll carry on the rear of the bike. This is specifically important on the Abound, as the front end can really start wobbling if you don’t have enough weight on the handlebars.
• Once the seat and handlebar are where you like them, adjust your grips and brake levers to comfortably reach out. You can also adjust the reach of your brake lever so you can grab it more easily.
10. Add Your Accessories
If there are specific accessories you need help installing, let me know, and I can create follow-up content on them.
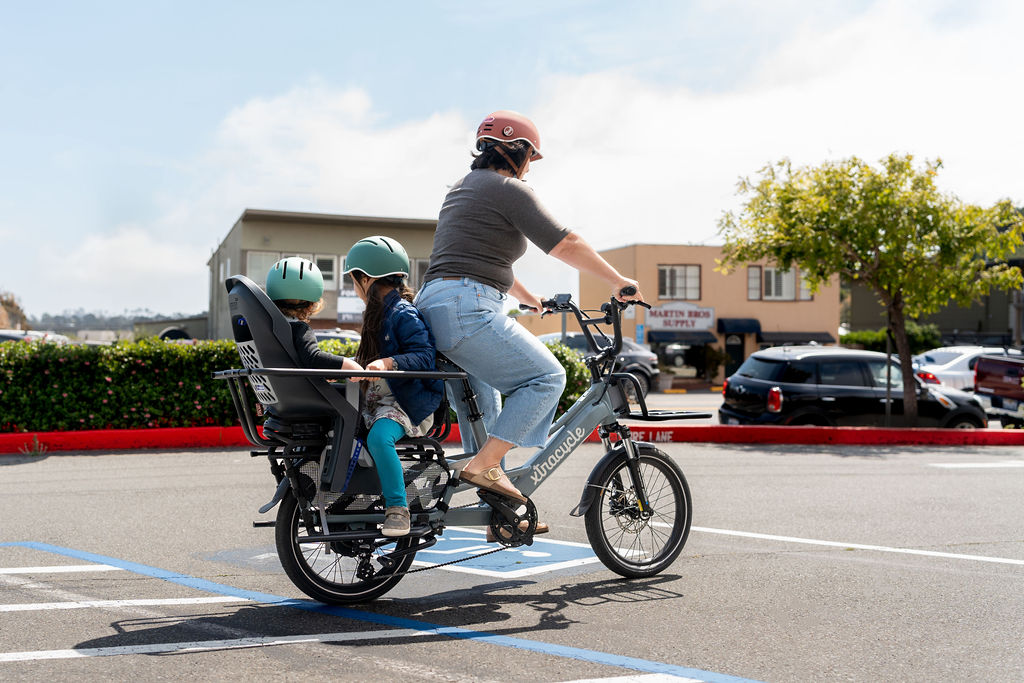
11. Test Ride with Passengers
Once you feel like you’ve ridden your bike enough (I recommend at least 2 rides without the kids), add ONE kid on and have them sit as close to you as possible. Ride with them a bit, and then add your 2nd kid if you will carry 2.
I can not overstate the importance of riding the cargo bike a decent amount before adding kids; this is true of any cargo bike.
Last Thoughts
Hopefully, this will get you started with a safer and more enjoyable experience with your Abound cargo bike. While finalizing the Aventon Abound review, we are also working on more content to help you get dialed in with your Aventon, so please let us know what you would like to see! If you have the Aventon Abound already, please leave a review!
If you made it this far, please let us know in the comments. It’s nice to hear from folks, as we work silently behind a keyboard most days 🙌